In the era of wireless connectivity, having a Wi-Fi card installed in your custom PC can be incredibly beneficial. Whether you are a gaming enthusiast, a remote worker, or simply wish to cut down on cabling, a Wi-Fi card provides the flexibility to connect to the internet wirelessly. This guide will walk you through the steps to install and configure a Wi-Fi card in your custom PC.
Selecting the Right Wi-Fi Card
The first step to installing a Wi-Fi card in your custom PC is to select the appropriate one. Here are some factors to consider:
- Compatibility: Ensure that the Wi-Fi card is compatible with your motherboard and operating system.
- Speed: Look for Wi-Fi cards that support the latest Wi-Fi standards like 802.11ac or 802.11ax for higher speeds.
- Range: Check the range capabilities, especially if your router is located far from your PC.
- Antennas: Some Wi-Fi cards come with external antennas which can improve signal reception.
- Price: Compare prices to get the best value for your money.
The table below summarizes some top recommended Wi-Fi cards for custom PCs:
| Wi-Fi Card | Compatibility | Speed | Range | Price |
|---|---|---|---|---|
| ASUS PCE-AC88 | Universal | 802.11ac | High | $$ |
| TP-Link Archer T6E | Universal | 802.11ac | Moderate | $ |
| Intel Wi-Fi 6 AX200 | Universal | 802.11ax | High | $$ |
Installation Process
Step 1: Gather Tools and Materials
Before you start, gather the necessary tools:
- Wi-Fi card
- Screwdriver
- Anti-static wrist strap
- User manual for your motherboard and Wi-Fi card
Step 2: Power Down and Disconnect
Power down your PC and unplug all cables. Ensure you are working on a non-conductive surface.
Step 3: Open the PC Case
Use a screwdriver to remove the screws from the side panel of your PC case and carefully open it.
Step 4: Locate the PCIe Slot
Find an available PCIe slot on your motherboard. These slots are usually located towards the bottom.
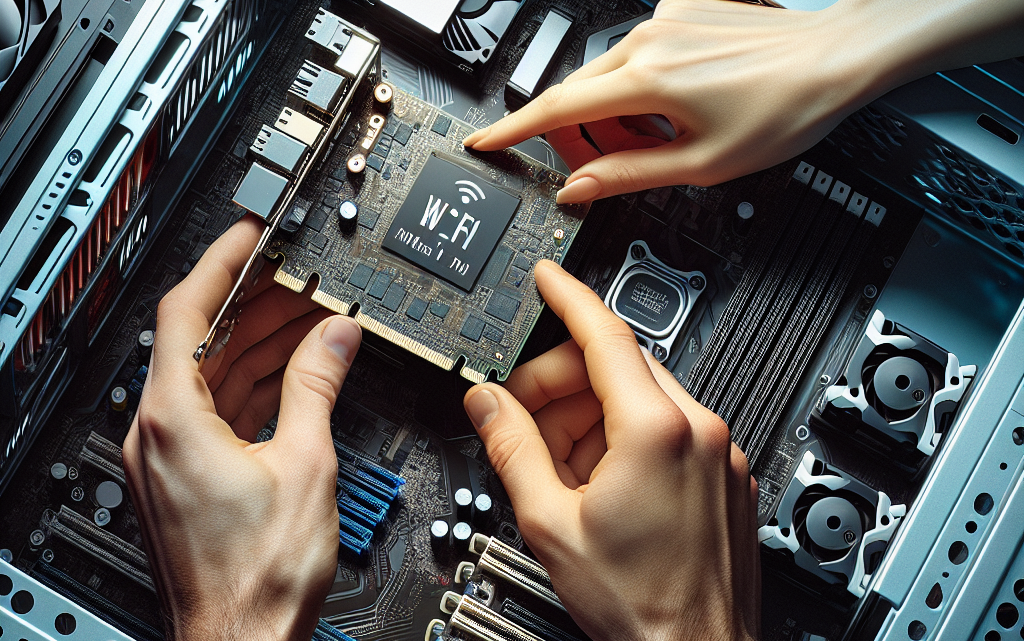
Step 5: Install the Wi-Fi Card
Gently insert the Wi-Fi card into the PCIe slot and secure it with a screw.
Step 6: Connect Antennas
If your Wi-Fi card has external antennas, install them now.
Step 7: Close the PC Case
After securing the Wi-Fi card, replace the side panel of your case and fasten it with screws.
Configuring Your Wi-Fi Card
Step 1: Start Your PC
Plug in all cables and start your PC.
Step 2: Install Drivers
Most Wi-Fi cards come with a driver CD, or you can download the drivers from the manufacturer’s website. Install the appropriate drivers for your operating system.
Step 3: Connect to a Network
Once the drivers are installed, you should see the Wi-Fi icon in your system tray. Click on it to view available networks and select your Wi-Fi network. Enter the password to connect.
Step 4: Configure Network Settings
For optimal performance, you may need to configure some network settings:
- Channel Width: Adjust the channel width for better speed.
- Security Settings: Ensure you are using the most secure encryption method like WPA3.
- IP Settings: Configure IP settings as required, or set it to automatic.
Troubleshooting Common Issues
Issue 1: Wi-Fi Card Not Detected
If your PC doesn’t detect the Wi-Fi card, check if it is properly seated in the PCIe slot and try reinstalling the drivers.
Issue 2: Weak Signal Strength
For weak signal strength, make sure the antennas are properly connected and positioned. Also, check for interference from other devices.
Issue 3: Slow Internet Speed
If you experience slow speeds, ensure that your router and Wi-Fi card support the same Wi-Fi standard. Updating drivers and firmware can also help.
Conclusion
Installing and configuring a Wi-Fi card in a custom PC is a straightforward process that offers numerous benefits. By following the steps and tips outlined in this guide, you can enjoy a seamless and wireless internet experience. Whether you are enhancing your gaming rig, setting up a home office, or just want to reduce clutter, a Wi-Fi card is a worthy addition to your custom PC.