Building a home server can be a rewarding project that offers deep customization options for your data, media, and IoT needs. This comprehensive guide will walk you through the steps necessary to construct your own home server.
Why Build a Home Server?
Before diving into the steps, it’s essential to understand why building a home server can be advantageous. Here are some reasons:
- Data Privacy: Keep your data secure and private at home.
- Media Server: Stream movies, music, and photos across devices.
- IoT Hub: Control smart home devices from a central location.
- Backup Storage: Store backups of your devices securely.
Steps to Build a Home Server
1. Determine Your Server Requirements
First and foremost, identify what you need from your home server. Whether it’s for media streaming, file storage, or hosting a website will dictate the hardware and software choices. Here’s a rough guideline:
| Use Case | Minimum Requirements |
|---|---|
| Media Streaming | 1.5 GHz CPU, 4 GB RAM, 500 GB HDD |
| File Storage | 1.0 GHz CPU, 2 GB RAM, 1 TB HDD |
| IoT Hub | 1.2 GHz CPU, 2 GB RAM, 250 GB HDD |
| Web Hosting | 2.0 GHz CPU, 8 GB RAM, 500 GB SSD |
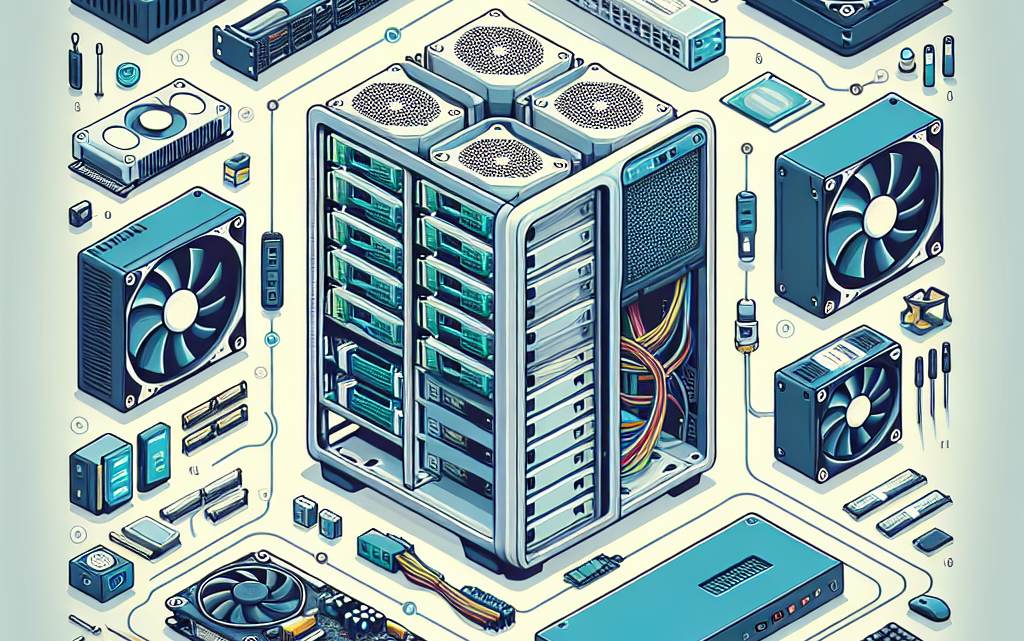
2. Select Hardware
Based on your requirements, choose the appropriate hardware components:
- CPU: Multi-core processors are recommended for multitasking.
- RAM: At least 4 GB; more for intensive tasks.
- Storage: Choose between HDD (affordable, higher capacity) and SSD (faster performance, lower capacity).
- Motherboard: Ensure it is compatible with your CPU and has enough SATA ports for your storage needs.
- Power Supply: A reliable energy-efficient PSU that meets your power requirements.
- Network Interface: Gigabit Ethernet for faster data transfer rates.
3. Assemble Your Server
Once you have all the components, assemble them carefully. Here are the basic steps:
- Install the CPU and RAM onto the motherboard.
- Place the motherboard inside the server case.
- Connect the storage drives (HDD/SSD) to the motherboard.
- Attach the power supply unit (PSU) to the case and connect it to the motherboard and drives.
- Install additional peripherals like a graphics card if needed.
4. Install the Operating System
Choose an operating system based on your needs and familiarity. Popular options include:
- Windows Server: Best for seamless integration with Windows devices.
- Linux (Ubuntu Server, CentOS): Flexible and powerful, ideal for advanced users.
- FreeNAS: Recommended for NAS (Network-Attached Storage) setups.
Follow these steps to install your OS:
- Download the OS from its official website and create a bootable USB drive.
- Insert the USB drive into your new server and boot from it.
- Follow the on-screen instructions to complete the installation process.
5. Configure the Server
Once the OS is installed, you need to configure it according to your primary use case:
- Set Up User Accounts: Create accounts with appropriate permissions.
- Install Necessary Software: Install applications like Plex (media server), Nextcloud (file storage), or Docker (container management).
- Configure Network Settings: Assign a static IP to ensure consistent network addressing.
- Set Up Remote Access: Use SSH for Linux or Remote Desktop for Windows to manage your server remotely.
6. Secure Your Server
Ensuring the security of your home server is paramount. Follow these steps:
- Change Default Ports: Changing default ports for services like SSH can add a layer of security against automated attacks.
- Configure Firewalls: Set up firewall rules to allow only necessary traffic.
- Enable Automatic Updates: Keep your system and software up-to-date to mitigate vulnerabilities.
- Use Strong Passwords: Implement multi-factor authentication (MFA) where possible.
- Backup Data: Regularly backup your server data to an external drive or cloud storage.
7. Test Your Server
Finally, test your home server to ensure everything is functioning correctly:
- Check Network Accessibility: Ensure you can connect to the server from different devices on your network.
- Diagnose Performance: Use tools like HTOP (Linux) or Task Manager (Windows) to monitor system performance.
- Verify Services: Check that all installed services are running as expected and accessible.
Conclusion
Building a home server is a worthwhile endeavor that provides immense control over your data and services. From hardware selection to software configuration and security, this guide has covered all essential steps to set you up for success. Happy building!